CS 3220 Spring 2023
GT CS 3220 Processor Design
Guide for accessing VM on ICE cluster
Key Requirements
- Internet connection
- GT account (same as BuzzPort and Passport)
Download and install GlobalProtect Clientless VPN
Please Note!!! Cisco AnyConnect is being officially sunseted by Georgia Tech. You may still be able to use it for a while, but we strongly encourage everyone to move to GlobalProtect since that removes one variable when trying to debug infrastructure issues as well as enables us to ask for technical support from OIT in case we face issues.
Please follow instructions given at https://gatech.service-now.com/home?id=kb_article_view&sysparm_article=KB0026837 to set up GlobalProtect. Individual instructions for different OS can be found here:
Set up VNC and Environment on ICE Cluster
Before attempting the following steps, please ensure you are connected to campus VPN using GlobalProtect.
-
Log onto the COC ICE cluster. You can do so by using
ssh -X <your_gt_username>@coc-ice.pace.gatech.eduexample:
#Make sure you are connected to the VPN first!! <yourlocalmachine>:~$ ssh gburdell@coc-ice.pace.gatech.edu Warning: Permanently added the ECDSA host key for IP address '128.61.254.40' tothe list of known hosts. gburdell@coc-ice.pace.gatech.edu's password: This computer system is the property of Georgia Institute ofTechnology. Any user of this system must comply with all Instituteand Board of Regents policies, including the Acceptable UsePolicy (AUP), Data Privacy Policy (DPP) and Cyber SecurityPolicy (CSP), see http://b.gatech.edu/it-policies. Users shouldhave no expectation of privacy, as any and all files on this systemmay be intercepted, monitored, copied, inspected, and/or disclosed toauthorized personnel in order to meet institute obligations. By using this system, I acknowledge and consent to these terms. ############################################################# Welcome to GT College of Computing Instructional Cluster ############################################################# If you require assistance with this system, please contact yourcourse instructor or teaching assistant (TA). - Set up your desktop environment by running this script. It will create links to the tools you need to use in the next few steps.
[gburdell@login-coc-ice-1 ~]$/storage/home/hcocice1/shared-classes/materials/cs3220/class_scripts/setup_xilinx_ice_env.sh -
Request a VNC job - this will launch a compute job on a node in the COC-ICE cluster and will give you a few cores and memory to run Vivado and other tools in a GUI session. Again, youmay want to refer to the ICE documents to understand how the scheduler is requesting and allocating resources for your job.
   #This command requests a VNC job using the "long-running" queue and asks for onenode, 4 CPU cores, 30 GB of memory, and a runtime of 4 hours. (you can increase up to 8 hours)
   [gburdell@login-coc-ice-1 ~]$ pace-vnc-job -q coc-ice-long -lnodes=1:ppn=4,mem=30GB,walltime=4:00:00

   Submitting job via qsub pace-vnc-job.pbs...
   242776.sched-coc-ice.pace.gatech.edu

   Job successfully submitted!
   Waiting for job to start...

   Starting vncserver...

   Connect to your VNC server via the following steps:
      1) Press SHIFT + ~ then SHIFT + C to open an SSH console (The prompt 'ssh>'should appear on the next line)
         ***Note: '~' MUST be the first character on the line to be recognized asthe escape character, in which case it will not appear on your terminal.***
         ***If you see the '~' character when you start typing, delete it, hit'ENTER' and type 'SHIFT' + '~' + 'C' again.***
      2) Type -L 5901:atl1-1-02-003-19-l:5901 and then ENTER
      3) Connect your VNC Viewer client to localhost:1
Note: You may find it useful to set up an alias for frequently used pace-vnc-job command in your .bashrc file since you will use this command a lot to start a vncserver
- The last few lines give you instructions to set up “SSH port forwarding”. Briefly, this meansthat you are using SSH to forward the GUI connection from the remote cluster back to yourlocal machine. To do this, follow the instructions as shown:
   #Enter SHIFT+~ then SHIFT+C on this empty command-line. If you've done thisright, you should get the ssh> line below
   [gburdell@login-coc-ice-1 ~]$
   ssh> -L 5901:atl1-1-02-003-19-l:5901
   Forwarding port.
Keep this process running i.e. don’t Ctrl+C out of it.
-
Once the port is forwarded, you can use a VNC viewer to connect to the remote GUI desktop. We suggest using VNC Viewer however you can use a VNC client of your choice if you’re more comfortable with it. On your first connection, you will need to enter a 6 character password to be used on all future sessions. Don’t forget to write this down!
P.S. Even if you do forget, you can quickly change the password by using
vncpasswdcommand on the COC ICE terminal.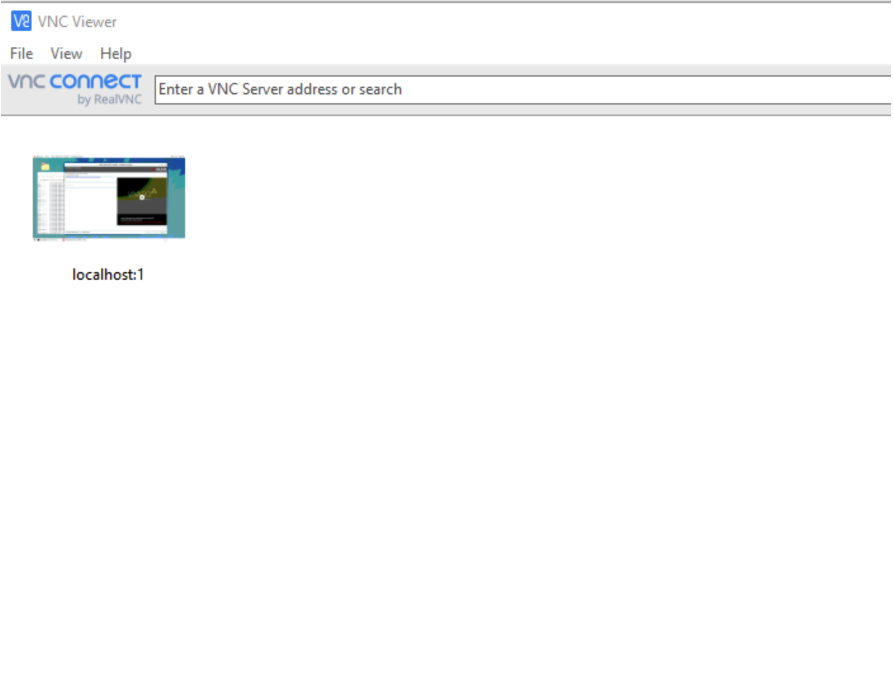

-
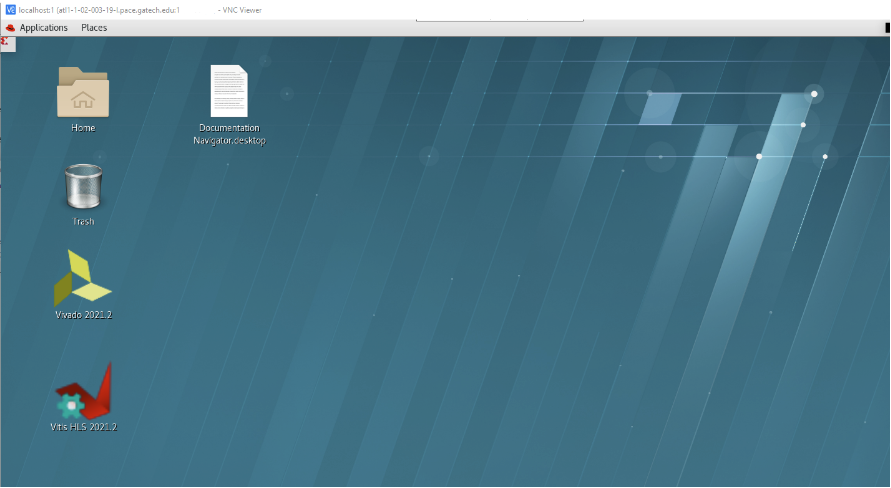
Once you’ve entered the password, the GUI screen should start up. Note this may take a minute on your first connection. This is normal!
-
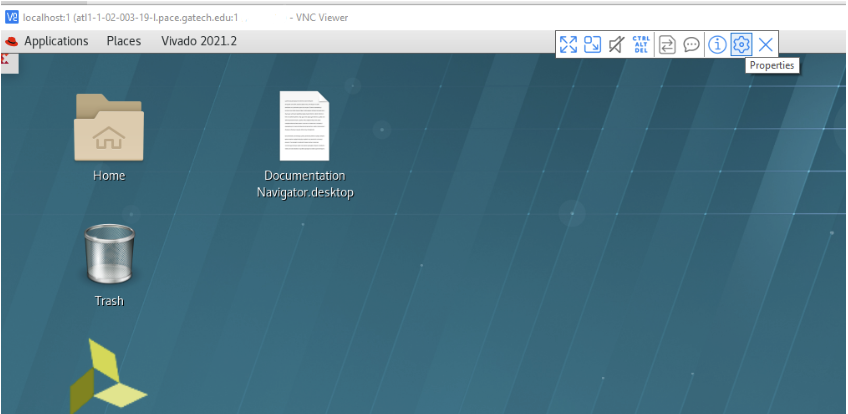
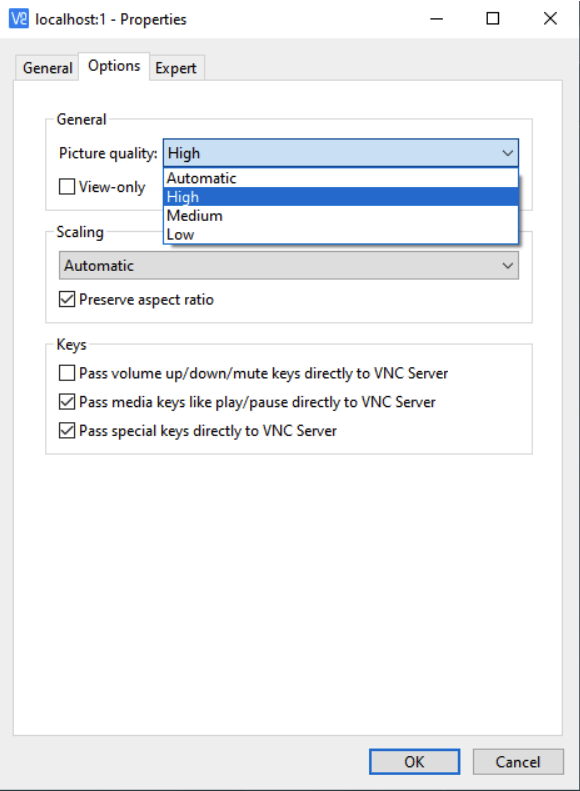
You might need to change the resolution for your VNC session to be higher or lower depending on how fast your connection is. You can do this by going to the middle tab at the top and click on properties. Then go to the “Options” tab and change the Picture Quality to High (better picture, slower) or Low (worse picture, faster)
( Skip to “Using Verilator on ICE” if not using Vivado or Vitis)
-
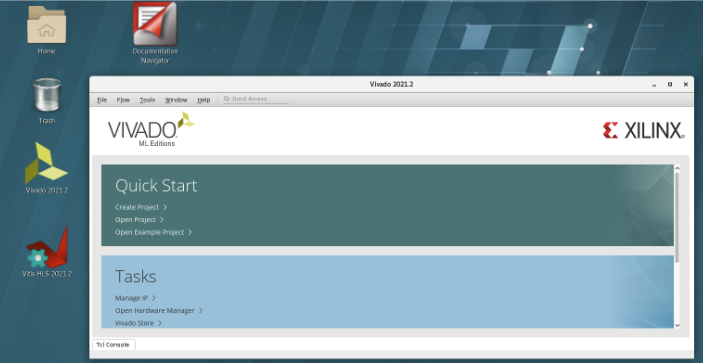
Once you have gotten to the desktop, you can then clock on the icon to open the Vivado or Vitis tool.
-
When you are finished with your session, you can close the VNC window. As long as your job is running the VNC session will stay running in the background. Once you are done, go back to your terminal and close the SSH port forwarding using
Ctrl+C[gburdell@login-coc-ice-1 ~]$ ssh> -L 5901:atl1-1-02-003-19-l:5901 Forwarding port. #Use CTRL+C to exit the port forwarding ^C
Below is a short video of all the steps showing how to open the VNC desktop:
[https://user-images.githubusercontent.com/57438552/148883921-ba853f05-27d0-4e11-a761-de9f7e2b917f.mov]
Using Verilator on ICE-cluster
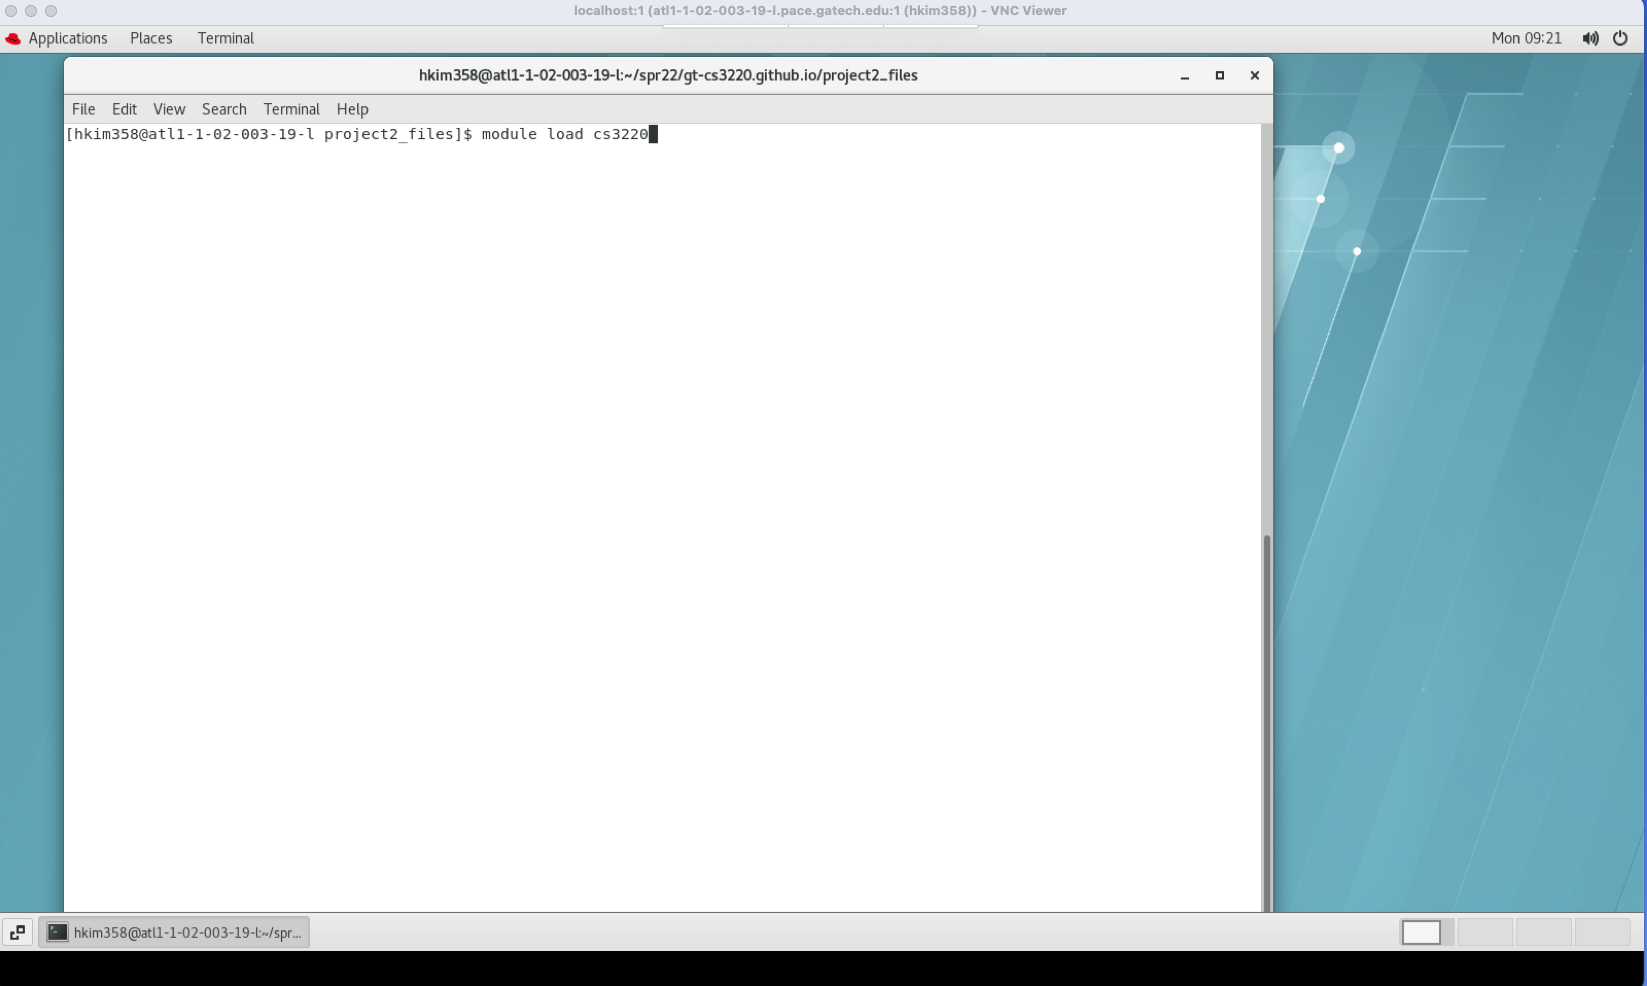
Once you get VNC environment get a terminal and type ```module load cs3220’’’.
You don’t need to call vivado.
Modifications to the instructions in HW1Part2*
Step 1: compile the verilog module of adder_var_seq.
cd gt-cs3220.github.io/Spring_2023/hw1part2/
verilator --cc adder_var_seq.v --top-module adder_var_seq
Step 2: Create the Cpp simulation file for Verilator. Pls take a look at the adder_var_seq.cpp in the current folder. The detail explainations are listed inside the adder_var_seq.cpp.
Step 3: Compile the executable file
verilator -Wall --trace --exe --build -cc adder_var_seq.cpp adder_var_seq.v
Note: If you see an error saying --build is not a valid option, don’t panic. Run without --build
verilator -Wall --trace --exe -cc adder_var_seq.cpp adder_var_seq.v
Step 3(a): Make the executable file (only if you had to skip --build)
Inside the obj_dir:
make -f Vadder_var_seq.mk
Step 4: Run the exectuable file and obtain the waveform file (.vcd)
./obj_dir/Vadder_var_seq
Step 5: Open the GTKWaver to open the generated trace open “GTKWaver” -> “Open New Tab” -> “Select the generated waveform.vcd” -> “click on Top” -> “Right click the signals below” -> “Recurse Import” -> “Append” Then all waveforms will show up in the Waves window.
Note We have asked for GTKWave installation on coc-ice cluster but it may be a while. In the meantime you can ftp the waveform.vcd to your local machine and use gtkwave. From your terminal in the local personal machine use:
scp akar34@coc-ice.pace.gatech.edu:/storage/home/hcocice1/akar34/test/gt-cs3220.github.io/Spring_2023/hw1part2/obj_dir/waveform.vcd .
Replace username with your own and waveform.vcd path with your own path.
FAQs
I don't have permission to the environment setup script. What do I do?
Please contact the instructor and TAs via Piazza on a private post so one of us can get you the necessary permissions ASAP. Please use a private post on Piazza instead of emailing an individual TA since a single person may be busy and may not see your email and you increase your chances of someone responding to your request by posting on Piazza.
While running the environment setup script, it can't find the Desktop directory.
This should be fixed in a later version of the script. But if you're still seeing it, simply create a Desktop folder in your home directory using `mkdir ~/Desktop`